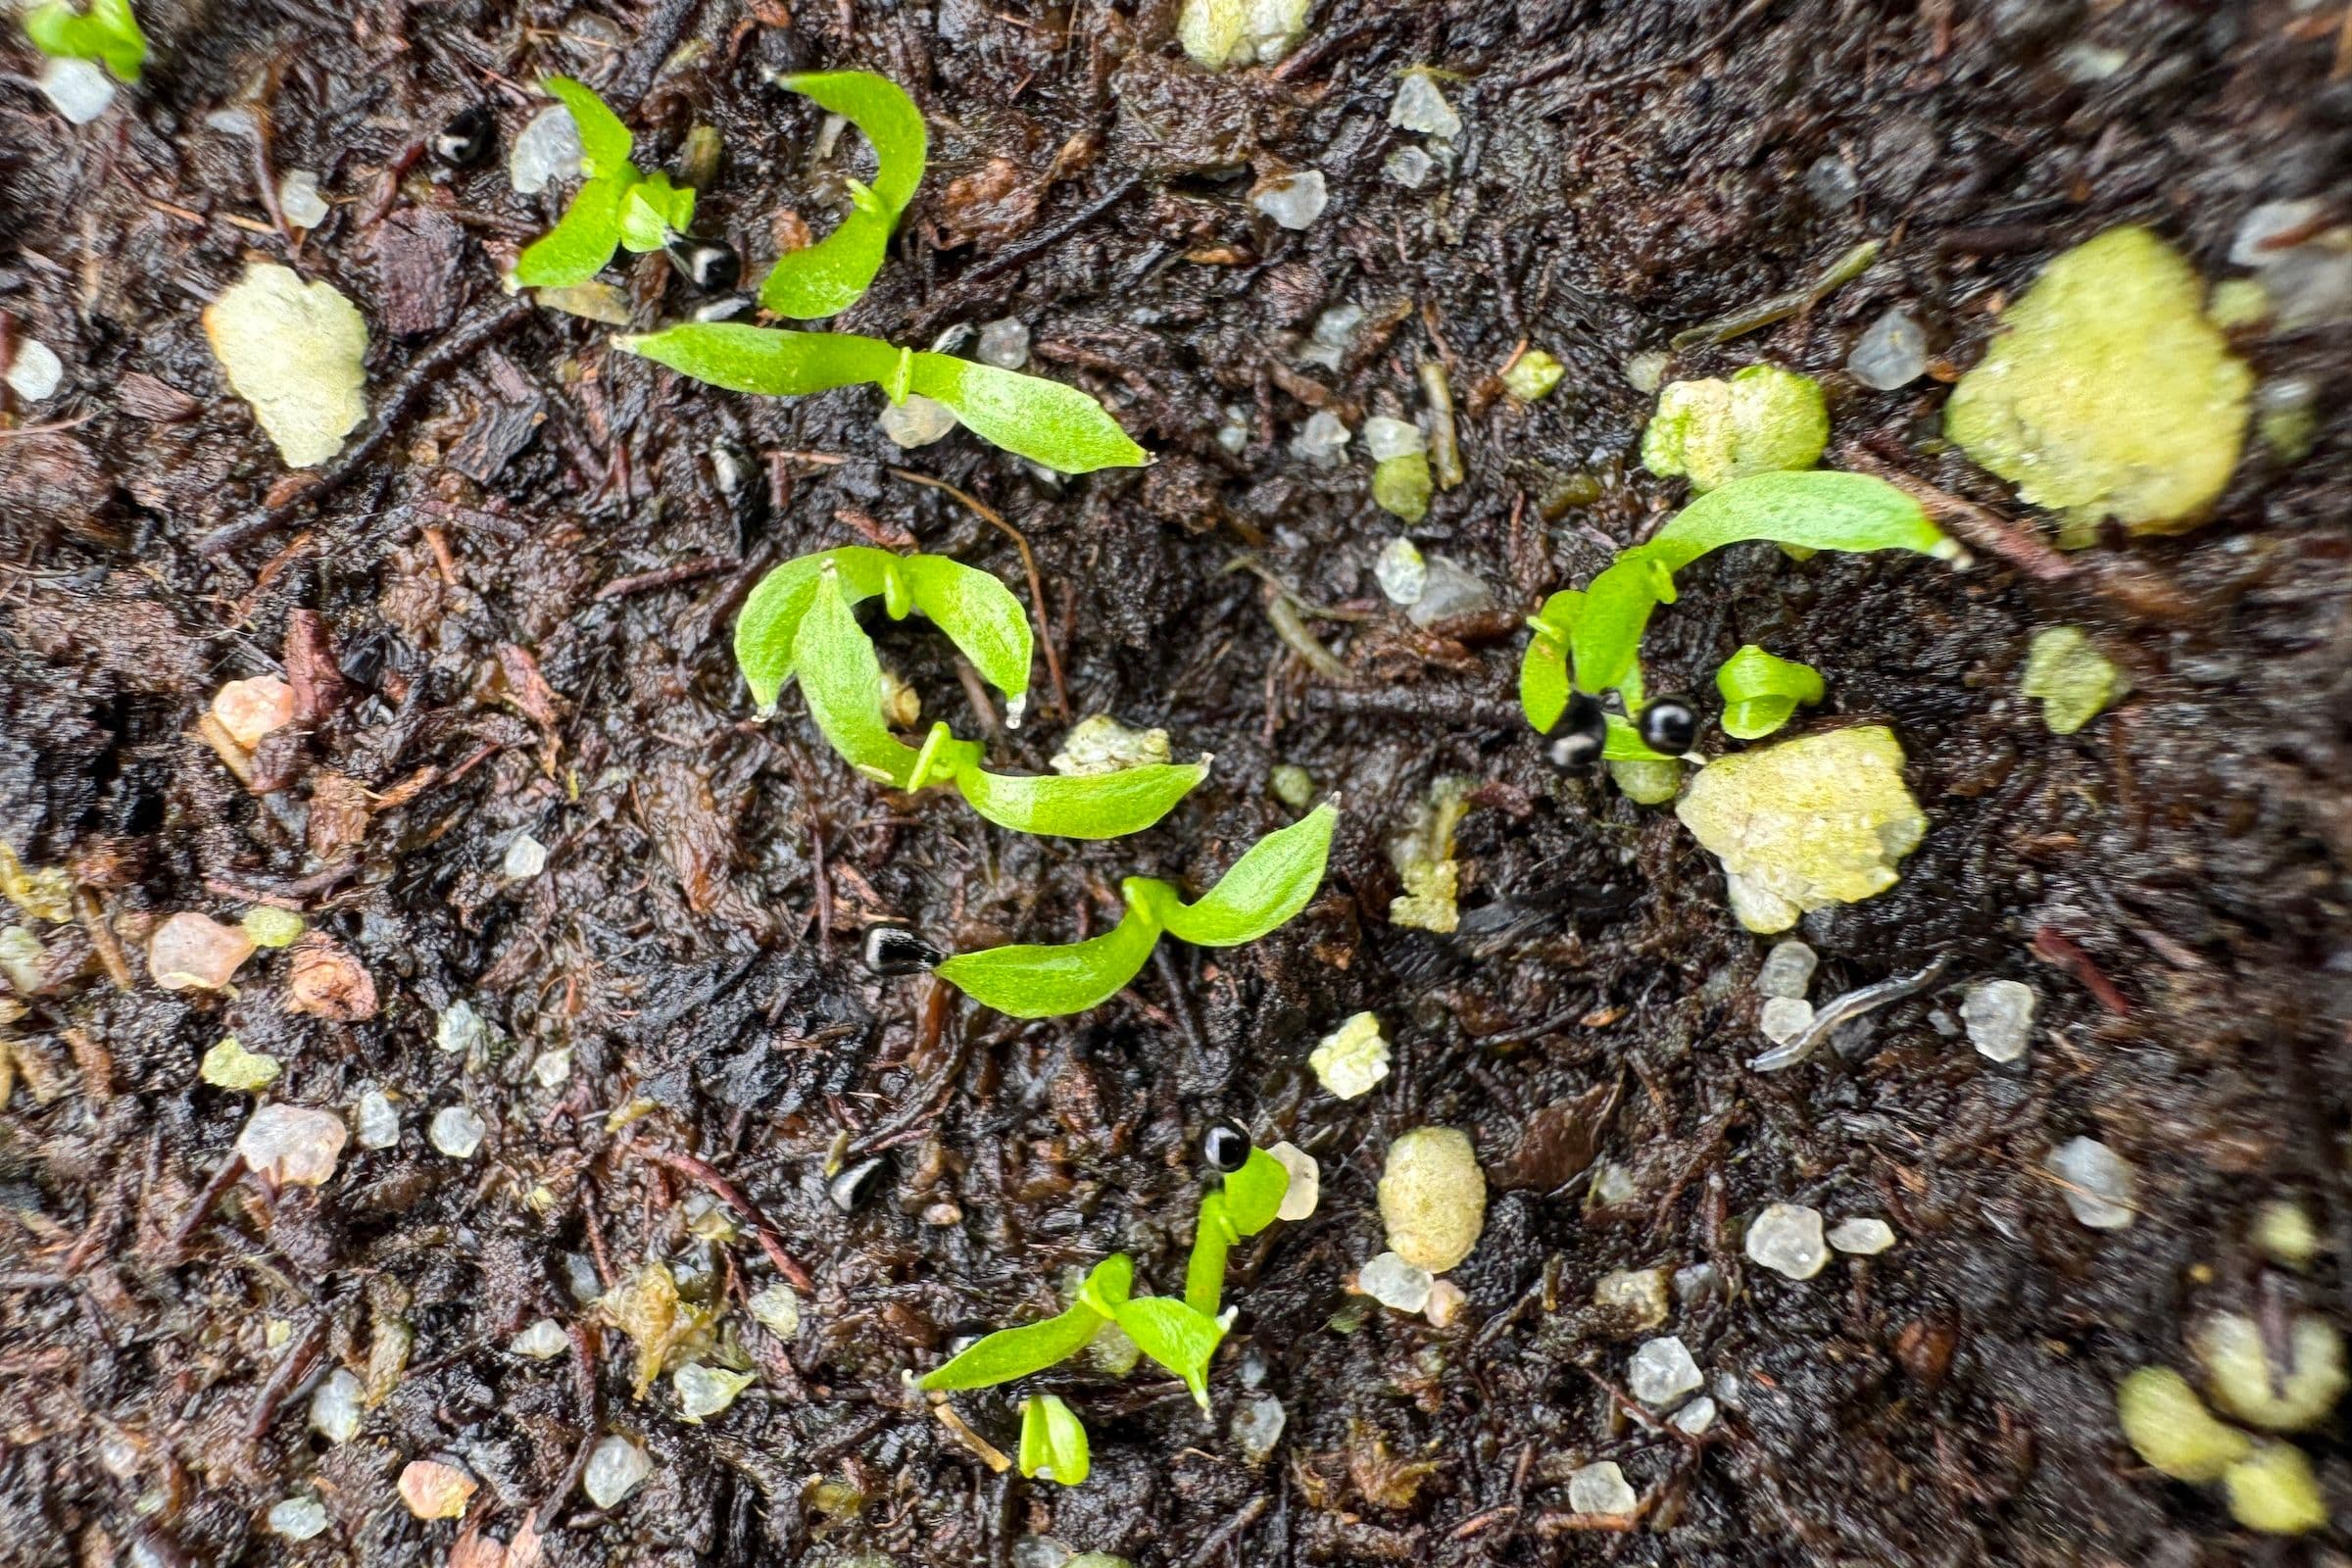
The seeds are collected, the pods are empty and the trays are lined up on the bench. Now comes the part I look forward to all year: getting those tiny black seeds into the substrate and watching to see what happens next.
As I mentioned after harvest, I don't stratify fresh Venus flytrap seed. There's no cold treatment, no waiting, no drying period. As soon as the seeds are out of the pod, they go straight into their new home.
Preparing the Substrate
The mix I use is simple: a peat-based, nutrient-free substrate, often cut with some perlite or silica sand for structure. It needs to hold moisture well but still let a little air reach the seeds, and it must be free of fertilizer or lime, since flytraps are adapted to poor, acidic soil.
I fill small pots or trays with the mix and water it thoroughly beforehand, so the surface is evenly damp before a single seed goes in.
Sowing the Seeds
Venus flytrap seeds are tiny and they need light to germinate, so I never bury them. I simply scatter them across the surface of the damp substrate and press down gently with a flat tool, just enough for good contact without pushing them under.
Spacing matters more than it seems like it should. I try to leave a little room between seeds, since overcrowding later means more competition and more work separating seedlings down the line. It is never perfectly even and that's fine. Nature was never perfectly even about it either.
Warmth, Light and Humidity
Once sown, the trays go into the greenhouse, where the natural warmth and light do all the work. I don't use grow lights or artificial humidity domes for this. The greenhouse environment itself provides plenty of both and the trays get a bright spot without harsh direct sun, which could dry out or overheat such a small volume of wet substrate.
Within about a week, the first thin green threads usually start to appear. I check the trays daily around this point, since that first week is when I get the earliest sense of how well a particular batch germinated.
Caring for the Seedlings
The first months are the most delicate part of the whole process. At this stage, the seedlings are barely more than a few pale green cells with a tiny root. A few habits make the difference between a healthy tray and a disappointing one:
Never let the substrate dry. I keep the tray standing in a shallow layer of rainwater at all times, topping it up rather than letting it run dry between waterings. That alone keeps enough moisture around the seedlings without needing to cover the tray.
Skip the fertilizer and don't worry about feeding them. Seedlings this small can't catch or process prey yet and feeding them anything at this stage tends to cause rot rather than growth.
Watch for mold. Warm, humid trays are exactly what fungus enjoys too. Good airflow, even a small gap for ventilation, helps keep it in check without sacrificing humidity.
Resist the urge to separate them early. I leave seedlings together in the same tray for their first year or more. Pulling apart such tiny roots too soon does far more harm than a bit of crowding ever would.
A Slow Start With a Big Payoff
It will be a while before these seedlings look anything like a Venus flytrap. The first proper traps, complete with tiny teeth, take weeks to appear, and it can be a year or more before a plant is large enough to pot on individually. It's a slow process and there is no shortcut that doesn't cost seedlings along the way.
But every tray represents the same thing the harvest did: a hundred small experiments, each one carrying its own combination of genes, each one a question I won't be able to answer for a year or two yet.
For now, the trays sit warm, bright and humid on the bench and all I can do is wait and check on them, one day at a time.
Stay snappy! 🌱
— Peter